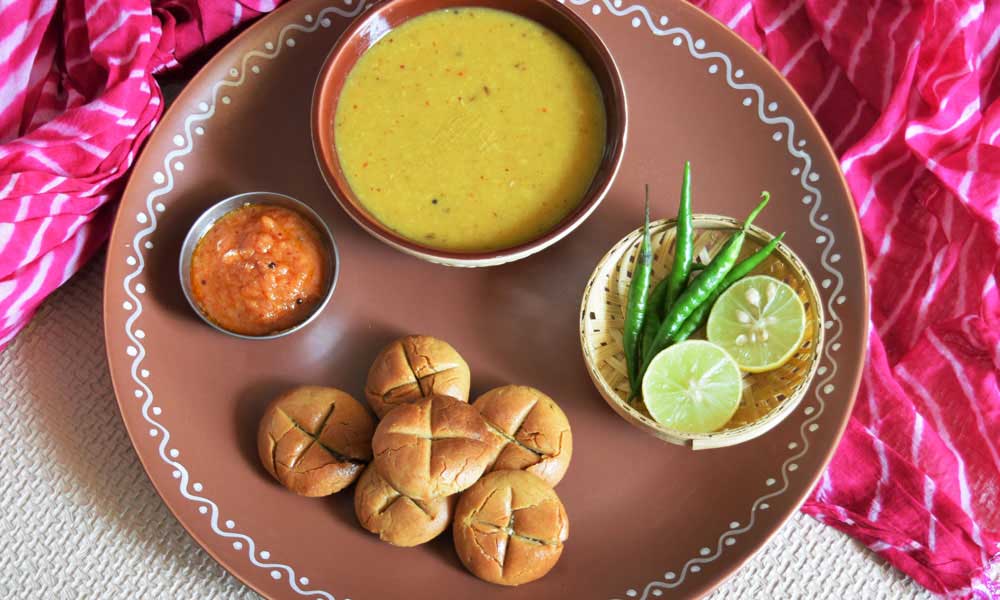
Most of you would have heard about Dal-Baati. But today, we are going to talk about Baked Baati Recipe. But before we do so, and for those who are not aware, let’s understand what is Baati.
Baati is incomplete without Dal. It is a uniquely Rajasthani traditional dish that is eaten at the most important festivals, get-togethers, and family gatherings.
The uniqueness of this recipe is its high shelf life, nutritional content, and the minimum requirement of water to make this recipe. Since this recipe is a traditional Rajasthani recipe, the low amount of water requirement is important here.
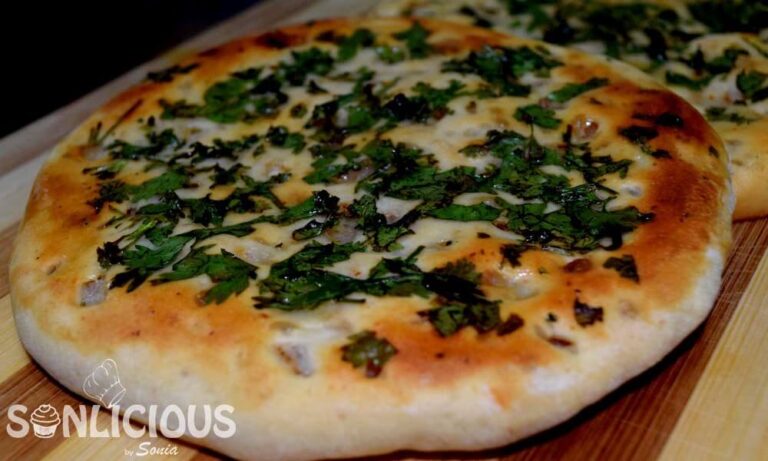
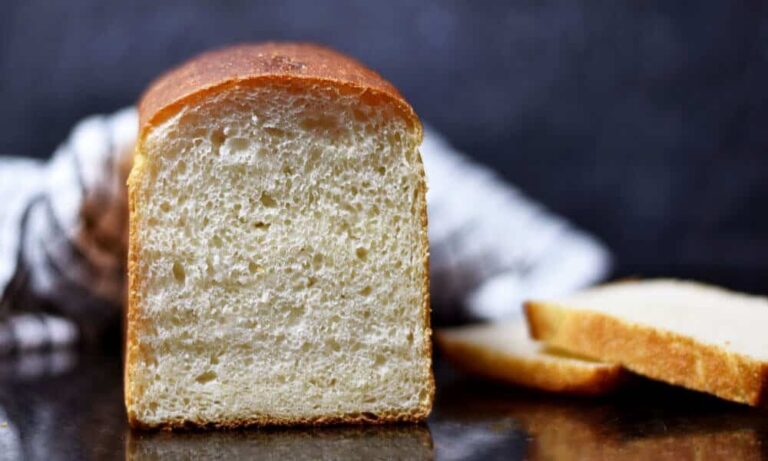
We will come to Churma some other time, let’s stick to Baati today. Baati is the Indian version of the doughy bread we know in America. Some people add additional ingredients such as chopped fresh herbs and onions to their baati.
|You would also Love: Oven Baked Nachos Chips
Introduction to Baked Baati
A traditional baati is roasted over coal, then soaked in pure ghee, and then served with dal and chutney. I have seen my mother-in-law roasting baati’s in the tandoor, I call it bati oven, that she has at her place. But since I do not have a tandoor, I could not do this recipe at my place.
So we decided to visit some traditional Rajasthani restaurants and eat our favorite dal baati. To our surprise, we found the fried version of baati and we did not like it. It was neither healthy and nor tasty.
And then I decided to do something about it and the idea of making bati in the oven came to my mind.
Oven to ghar par hai hi..

How to make dal bati in oven
In olden times, people used to cook the baati over coal. But with time we have lost the traditional methods to make it. The reason could be limited space or limited resources.
The recipe I am going to share will have the same taste without compromising the texture. Baati is considered a rich delicacy as a good amount of ghee is used in making a baati. In general, baati is dipped /soaked in ghee after roasting so that it can absorb the ghee and become soft.
Love Traditional Recipes?
Here is a Greek Traditional Recipe for you:Vasilopita Bread Recipe
Quick Notes
Tin Size | NA |
Oven Temp | 200 °C |
Baking Time | 20 min |
MW Convection Temp | 180 °C |
Baking Time | 20 min |
Demold Instructions | Immediately |
Cooling Time | NA |
PS: Use conversion table to switch recipe between grams and cups.
CONNECT
Want to get growing?
Starting and growing a business can be hard, and sometimes you might feel stuck. Our weekly newsletter gets delivered to over 30,000 people each week to help them grow. We’d love to help you, too. Subscribe now, it’s free.
We respect your privacy and promise to only send you the freshest baking news. No spam, ever. You can unsubscribe at any time.
Preparation: Step-by-step bati recipe in oven
In a kneading bowl, add whole wheat flour, Semolina, salt, carom seeds and melted ghee. Now using the finger tips, rub the ghee into dry ingredients well. This process may take 2-3 minutes but very important to follow. Else the baked baati will not turn crispy.

The way to check if it is mixed well on not is, take a portion of the flour and press it. If it binds well and holds the shape, it means the mixing is done properly.
Now start adding little water at a time to knead the dough. The dough should be tighter than chapati dough.

Cover the kneaded dough with a clean kitchen towel and keep it aside for 10 minutes. Meanwhile keep the oven for pre-heating at 200 °C.

After 10 minutes, knead the dough again and then make equal size balls out of it. Grease the baking tray or line it with parchment paper and place all the shaped bati’s on it. Make sure that all the portions are of same size and thickness then only you will get evenly Baked Bati.

Bake these at 200°C for 15 minutes initially. Then flip the side of all the bati’s and again bake for 5-7 minutes.
Once the baking is done, take the tray out from the oven.

Dip all the baked bati’s in ghee and let these rest for 1-2 minutes so that these can absorb the ghee which will help to soften these further.

Baati is ready to serve. Serve hot with dal and garlic chutney.

Now try this recipe and share your feedback. Till then happy baking!
BakeLikeAPro
Baking a picture perfect cake is everybody’s desire. And if you are a baking enthusiastic and trying to figure out where to start from, then you can check our specially designed courses for you.
Feedbacks
Let me know your experience with the recipe in the comment box below. I will try to respond back as much as possible.
If you like my recipes, follow me on Facebook, Instagram, and Pinterest. If you like to watch video recipes, check my YouTube Channel.
For Recommended Tools and Ingredients visit my Amazon Shop Page.
Ingredients
- 400 gm Whole Wheat Flour
- 100 gm Semolina
- 1 tsp Carom seeds (Ajwain)
- 4 tbsp Ghee
- 1 tsp Salt
- 200 ml Water or as required
Instructions
- In a kneading bowl, add whole wheat flour, Semolina, salt, carom seeds and melted ghee.
- Rub the ghee into dry ingredients well. This process may take 2-3 minutes.
- Now add a little water to knead the dough.
- Cover the kneaded dough with a clean kitchen towel and keep it aside for 10 minutes.
- Meanwhile, keep the oven for pre-heating at 200 °C.
- After 10 minutes, knead the dough again and then make equal size balls out of it
- Place all the shaped bati on it a greased tray.
- Bake these at 200 °C for 20 minutes and flip the side in between.
- Once the baking is done, take the tray out from the oven.
- Dip all the baked bati's in ghee and let these rests for 1-2 minutes.
- Bati is ready to serve. Serve hot with dal and garlic chutney
Notes
- Every ingredient in the recipe and its quantity has its own significance. Do not alter them.
- This recipe is a tried and tested recipe. Substitute the ingredient/s only at your own risk.
- You can adjust the servings of this recipe in the “Recipe Card” and all the ingredients and their measurement will automatically adjust.